This website outlines a modification of an old PC keyboard to become a toddlers learning toy.
DISCLAIMER: This is a hobbyist project that is not meant to be a finished end customer product.If you choose to replicate this build, you are doing so at your own risk!!
About
Our son, as of writing a toddler, is very keen on technical stuff. Especially devices used by grownups like keyboard, computers, etc. are interesting and things that produce sound are irresistible.
In a meeting with other like minded technical parents keyboards and their toy-value came up. Some had used keyboards and the characters printed on it to teach the alphabets letters to their children and had good success with it. Eventually the idea was born to make the old keyboard somehow speak the letters being pressed.
Functional description
The whole project is built around stuff I had laying around, so there should be plenty of ways pulling it off.
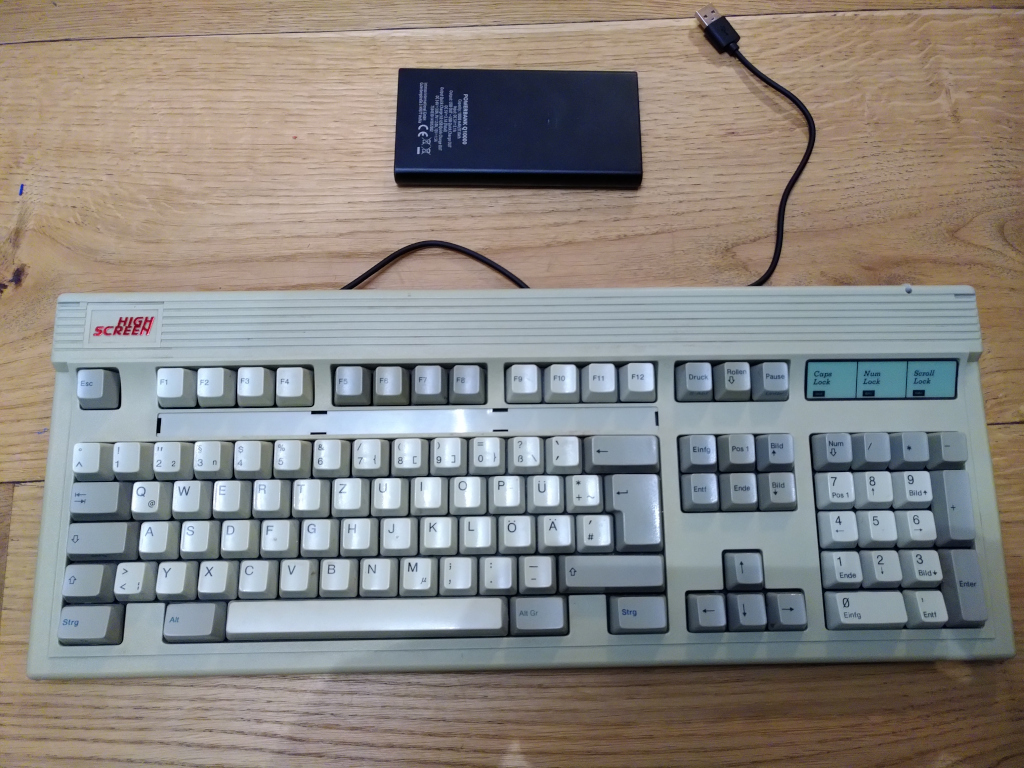
An old keyboard (about 1988 vintage) gives the project its enclosure and "user-interface". An Arduino Nano is hooked up to the keyboards original controller and simulates the host PC and receives the keyboard inputs from the keyboard.
The Arduino reads a WAV file from a FAT formatted SD card. The file name is determined by the key which was pressed so changing the sounds on the keyboard is as easy as properly naming WAV files on an SD card. The sound is output as PWM for the next stages. If a file is missing, the keyboard does not say anything. The library used supports 32, 22.05, 16, 11.25 and 8 kHz sampling rate mono WAV files with 8 bits.
| Key(s) | Example | File name |
|---|---|---|
| Shift+Letter | Shift+A, Shift+W | FEMALE_A.WAV, FEMALE_W.WAV |
| Function key | F1, F12 | PIANO_1.WAV, PIANO_12.WAV |
| Umlaut | ü, ö | MALE_UE.WAV, MALE_UE.WAV |
| Everything else | 1, 2 | MALE_1.WAV, MALE_2.WAV |
To reduce PWM related hissing noise, a small and simplistic filter has been added. As an op-amp I chose a TLC277 from my parts bin. As an output stage a cheap Chinese PAM8406 module was used.


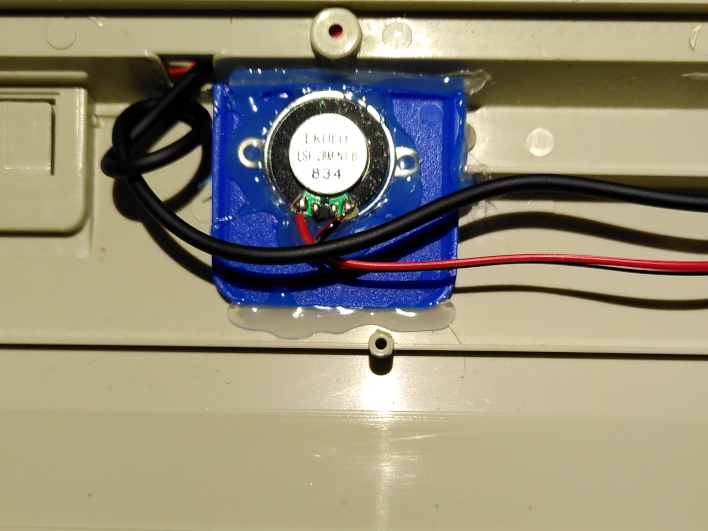
Somehow the keyboard had a speaker mounting hole and grill in the original case (some obscure IBM computers, not your regular PC, had that way back when). That way I could find a somehow fitting (2mm too wide) speaker (Ekulit LSF-28M/NT-B).
Block level schematic

As this is mostly based around modules, here you only find a kind of block level wiring diagram. The filter has been sufficiently explained in functional description.
Mechanical construction
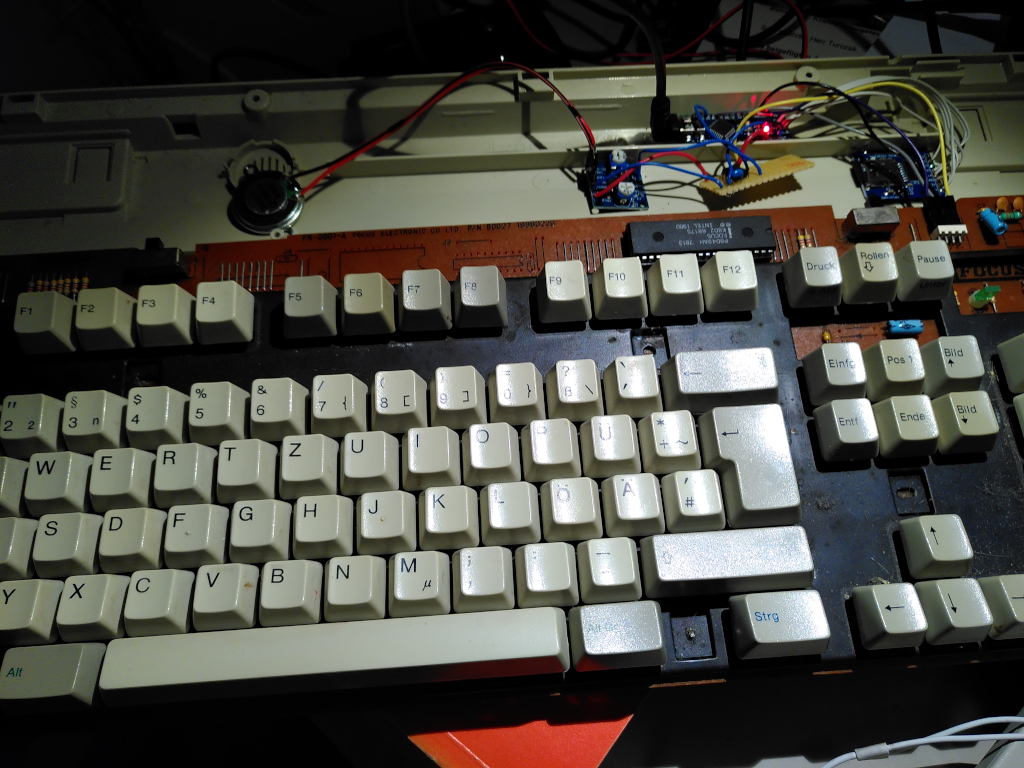
Due to the fact that the keyboard comes with plenty of space inside to mount all the modules, no external case is necessary. When you think about using the keyboard for something else once in a while, it might also be an option to go for an external box. But when everything is built in it looks rather tidy and as of today very few children will have something that retro-sleek.
The speaker, which was a little too wide in diameter is held in place using a small adapter plate I drilled out quickly was rather well hot glued into place inside the case. Now the keyboard supposedly has 2W PMPO.
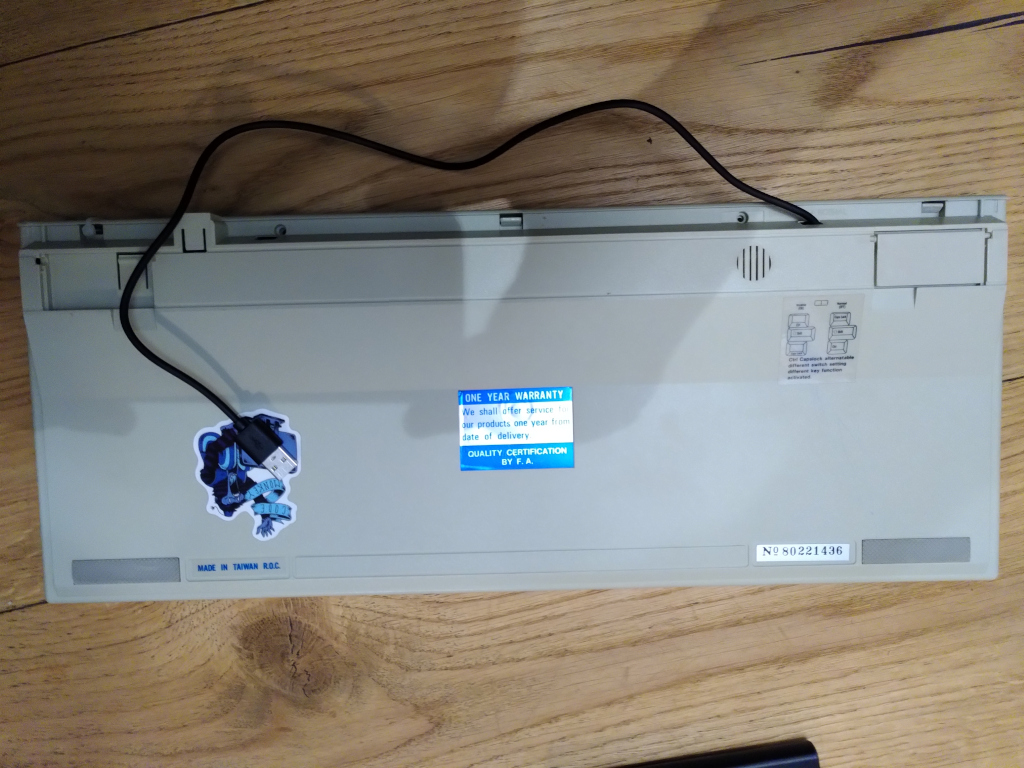
All remaining components where also hot glued into place, so it might be shock proof to children's standards. The case itself has rather sturdy clips, but is also secured shut using a zip tie. Only the USB chord for power supply and Arduino programming leads outside, it has been strain relieved to the maximum extent possible without making it impossible to remove.
Components used
- 1x Arduino Nano
- 1x SD card
- 1x old keyboard (AT or PS/2)
- 1x Adafruit SD breakout board
- 1x PAM8406 amplifier module
- 1x Speaker, e.g. Ekulit LSF-28M/NT-B
- 1x Protoboard
- 1x op-amp e.g. TLC277
- 2x 100nF ceramic capacitor
- 1x 1μF/16V ceramic capacitor
- 3x 10kΩ resistor
- 1x 1kΩ resistor
Code for the micro controller
At the heart of this project is a lot of software, the underlying libraries do most of the heavy lifting. Therefore I feel obliged to credit the authors of the libraries used in this project, as interfacing SD cards, reading FAT disks and WAV files and playing them in the background on such a limited hardware is just an amazing feat of engineering!
SD: SD-Library by William Greiman, Spark fun, et. alTMRpcm: WAV playback library that works with the SD-Library by TMRh20PS2Keyboard: Interface PS/2 and AT keyboards by Christian Weichel, Paul Stoffregen, et.al
To create the samples I used two sources:
- Voice samples where created using https://ttsmp3.com.
- the piano samples are from the Upright Piano KW sound bank of freepats.
Voice samples where separated using
$ sox ../ttsMP3....mp3 outfile.wav silence 1 0.01 .1% 1 0.1 .1% : newfile : restart
resulting in multiple files that where renamed using the scheme described above.
The piano samples were renamed to PIANO_1.WAV etc. as they already came in
WAV format.
To prepare the samples for being played back on the keyboard, they are preprocessed using the
following commands (here the male voices for example). With this, every
file is by it self nomalized to -3dB, which means the maximum signal
amplitude is set to 70% of the dynamic range. Then the sampling rate is
reduced to 16kHz and resolution is changed to 8-bit.
  $ mkdir -p ../sd
  $ cd male
  $ find . -name '*wav' -exec sox --norm=-3 {} -r 16000 -b 8 ../../sd/{} \;
You can find the sources at https://github.com/ptwz/SpeakKeyboard.